
A multiple exposure collage of my cat, Chooka. I made all the exposures while she was taking a bath on the bed. The size of the print is 12x12 inches. A Christmas gift for my wife, Katie.

A multiple exposure collage of my cat, Chooka. I made all the exposures while she was taking a bath on the bed. The size of the print is 12x12 inches. A Christmas gift for my wife, Katie.


Furiosa loves napping on the radiators.
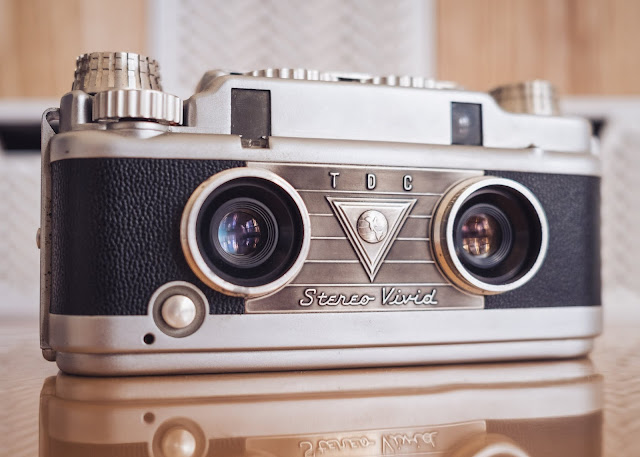
The Stereo Vivid is a 35mm stereo camera first made in 1954 by Three Dimension Company (TDC). TDC happened to be based right here in Chicago, Illinois, and was a subsidiary of Bell and Howell. They made a few different stereo cameras, but the Stereo Vivid was the most advanced model in many regards. Stereo photography has always been a passing interest of mine, but last month I took it upon myself to buy a stereo viewer, along with a few different stereo cameras, and attempt to make my own stereo views. The Stereo Vivid is the first camera I tried out.
One reason I bought the Stereo Vivid is because it's just such a beautiful camera. I figured that even if it didn't perform well, it could still look great on my shelf! The top plate is especially handsome with its aperture and shutter speeds dials that are synched up with a mechanical exposure calculator. It's up there with the Exakta VX when it comes to overall aesthetics.
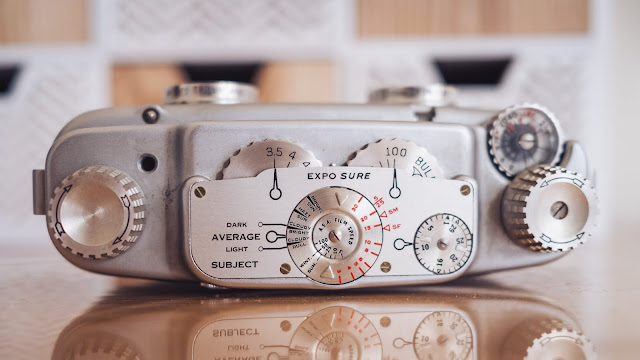
Besides its looks, here are some things I like about the camera. The combined viewfinder/rangefinder window makes for smooth and rapid operation. I enjoy the position of the focusing knob, as well as the shutter release. I found it comfortable to focus with my pointer finger and control the release with my middle finger. The shutter makes an adorable little wind-up robot noise. There is a little level within the viewfinder that makes it easy to straighten out compositions. The scale on the focusing knob makes calculating depth of field a breeze! Overall the build quality feels top notch.

Now some things that irked me. The camera can be a bit limiting when it comes to its maximum shutter speed, which is a measly 1/100 of a second. This makes capturing any kind of moving subject difficult, and also means it can be difficult to shoot in bright sunlight even with ISO 400 film. Another limiting factor is how the camera can only focus down to 4 feet. What's odd is that the focusing knob lists distances down to 2.75 feet, but due to a plastic stop, the knob cannot turn past 4 feet. Due to a known manufacturing defect, frames slightly overlap, so you lose a bit of information on the sides of your negatives. Because the viewfinder window is positioned over one of the lenses, and not between the lenses, close-up compositions usually turn out a bit skewed due to parallax error.
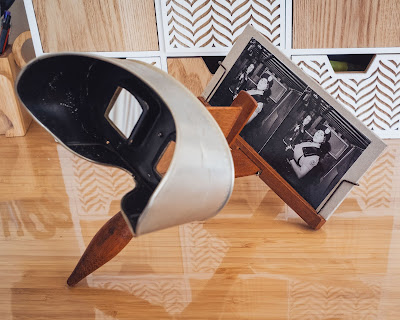
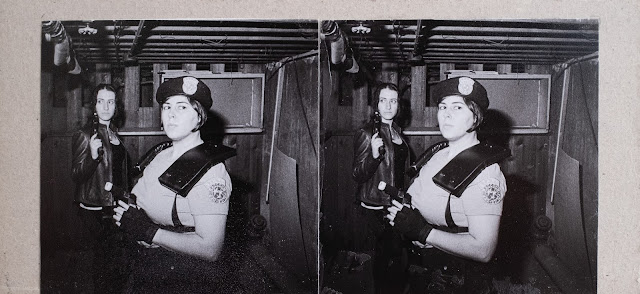
The idea is for the camera's two lenses to create two nearly identical photographs, with the perspective shifted slightly in each photo. Upon looking at the photos aligned next to each other in a stereo viewer, the brain combines the two slightly different perspectives into a 3-D view. On a standard roll of 24, you can get 16 views (32 individual images). I scanned and printed a few negatives to make into stereo cards for use with my 1901 Underwood and Underwood stereo viewer (viewable above). For the cards, I cut out 3.5" x 7" rectangles using mat board. I printed each image 3" square and pasted them together in the middle of the mat board, using gel medium. The resulting 3-D effect is amazing. Unfortunately it is impossible to convey the effect online, but all the effort is well worth it. Below are a few of the cards I made using the TDC Stereo Vivid.
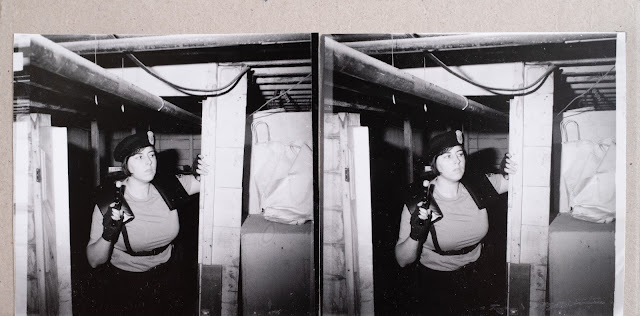
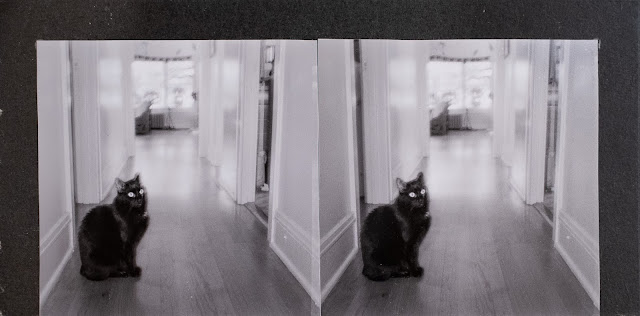
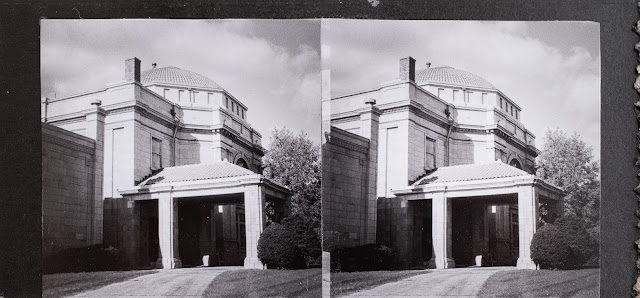


Lately I've been into early autofocus SLR's from the 80's and 90's, an era of cameras that I'd previously ignored because I wasn't into plastic builds and expensive batteries. Well, all that's changed, and the 1987 Canon EOS 650 is the latest camera to pique my interest. My curiosity for the camera stems from the fact that the EOS 650 is the first Canon EOS camera, as well as the first to ever use the now legendary Canon EF mount. Previous manual focus SLR cameras such as the F-1, A-1, and AE-1, used the FD mount, but when it was clear that autofocus was the future, Canon decided to start over from scratch with a new electronically driven focusing system in the form of the EF mount. The EF mount was novel because focusing and aperture functions were controlled by motors in each individual lens, and not the camera body (like with Nikon AF lenses). This being the case, there are no levers or plungers on the rear of EF lenses, only electronic contacts.
As the first EOS camera, the 650 definitely succeeds as a proof of concept. Though there is only one autofocus point (in the center of the focusing screen, of course), focus is damn snappy. Like on a modern camera, the shutter release is pressed halfway to focus, and all the way to take a picture. I couldn't believe the speed of the autofocus, as the camera quickly locks on to the subject with next to no hunting! In comparison to other dedicated autofocus consumer cameras that I've used from the same period like the Minolta Maxxum 7000 or Nikon N2020, the EOS 650 is on a whole different level. Pretty much every shot I took was in good focus, and if it wasn't, the user was to blame. :)

The camera works great in aperture and shutter priority modes. It's when you switch to manual that things get a bit ugly. In manual, there is no traditional light meter. I thought there was something wrong with my 650 at first, but no, this is normal. To meter light in manual mode, you must hold down an additional button on the side of the camera (The button marked "M"). Then, on the readout screen, the camera will read out "CL" or "OP" based on your current shutter speed. "CL" means close down the aperture, while "OP" means (you guessed it) open the aperture. If the camera deems your current settings correct, "OO" will display on the LCD screen. So, in short, manual mode sucks on the EOS 650. Stick to the auto modes like I did if you value your sanity.

Below are some photos I made with the EOS 650 on a recent trip to Indianapolis. I used a 50mm f/1.8 Canon EF lens, and Ilford HP5+ 400 film.


